If you are using WiFi access in your business or school network, you should be configured to use Enterprise mode WiFi with AES encryption. Using Enterprise mode provided a number of advantages over Personal mode with a pre-shared key
Windows single sign on allows users to use their Active Directory domain account information to logon to wireless Access Points. The advantages to this over a single pre-shared wireless password are:
- Users only have to authenticate once to get both network and computer access. One password when they logon to the computer, and that’s it!
- Ability to allow or deny wireless access on a per user basis, as well as revoke access to a single user when they leave the organization without having to send everyone a new wireless password or key.
- When users change their windows password, the wireless password changes for them too.
- It is less susceptible to brute force attacks. Users get unique keys for each session, which also prevents snooping from other authenticated users.
- Better VLAN management. If you use VLAN’s they can be assigned on a per user basis while still using the same SSID.
- No need to share wireless passwords with all your users, as everyone has their own.
The disadvantage to Enterprise mode is it requires a little more upfront configuration, but it’s worth it for the added security and easy password maintenance. If you already have a Windows 2012 domain controller, you already have the services available, they just need to be configured.
Here are steps to enable wireless 802.1x authentication with Windows Server 2012
This assumes you already have a working Windows 2012 server with Active Directory.
First we need to install the RADIUS server (Microsoft includes a RADIUS implementation in NAP, Network Access Protection)
Installing Certificate server
-
Server Manager
- Add roles
- Role-Based
- Select Active Directory Certificate Services
- Close when finishes.
-
Go to flag, and select Post deployment Configuration
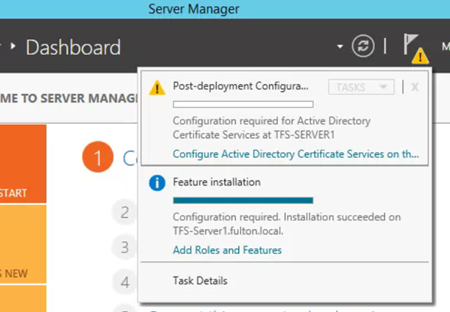
- Select – Configure Active Directory Certificate Services
-
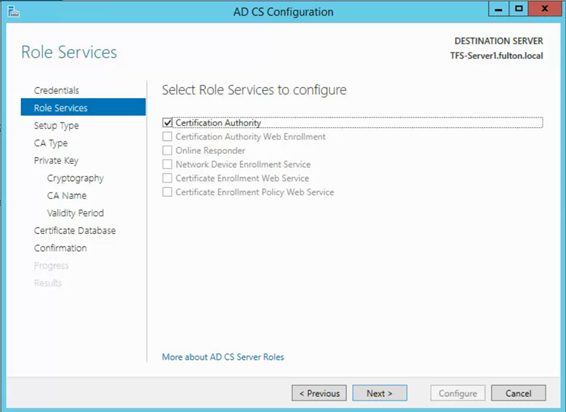
Configure AD Certificate Services
- Accept the default Credentials
- Check Certification Authority
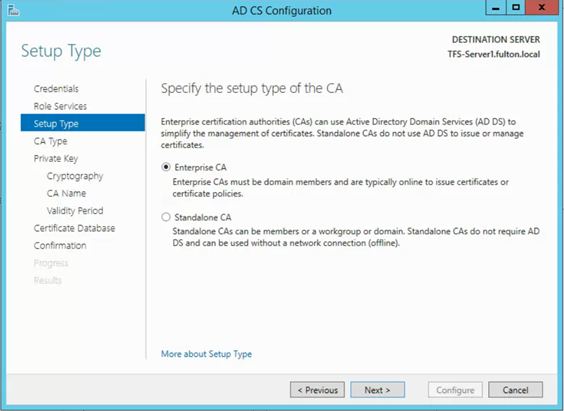
- Enterprise SA
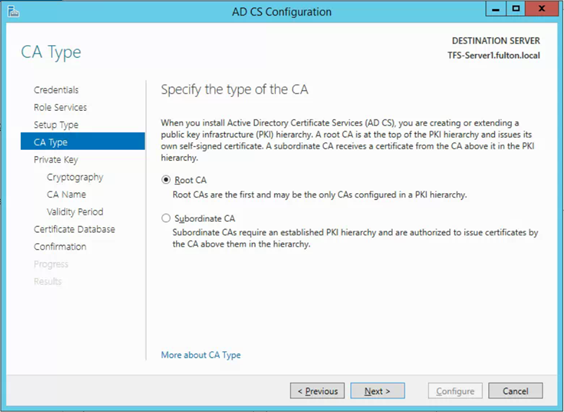
- Root CA
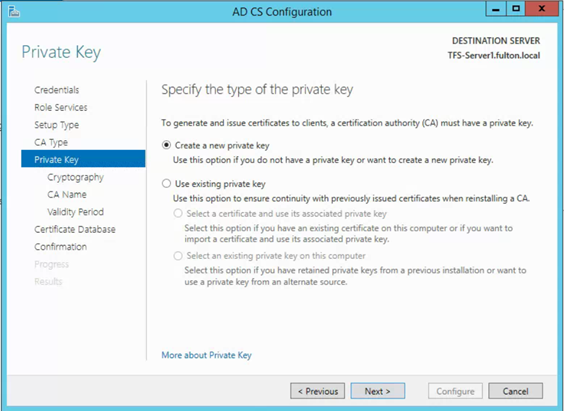
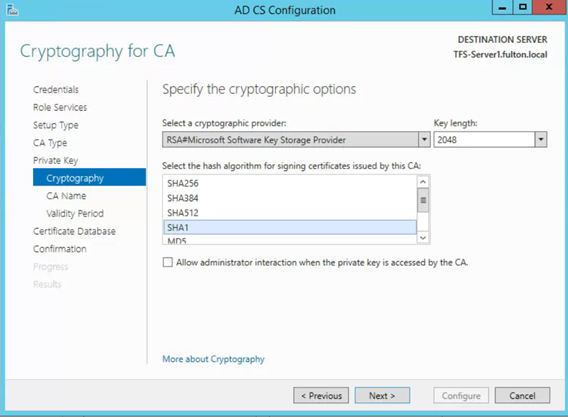
- Create new Private key
- SHA1
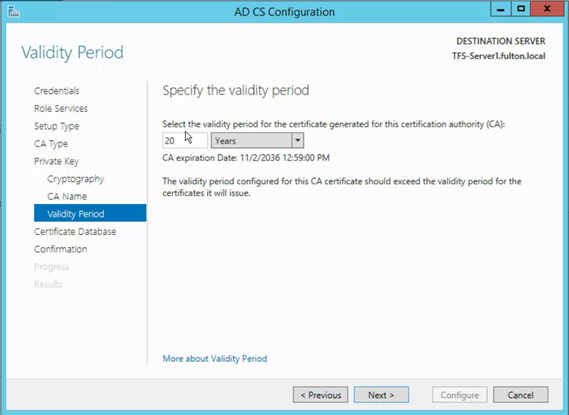
- Validity period 20 years
- Choose default database locations
- Configure
-
Request Domain Controller Certificate
Now that you have the CA up and running, you can get the certificate required by PEAP for authentication server
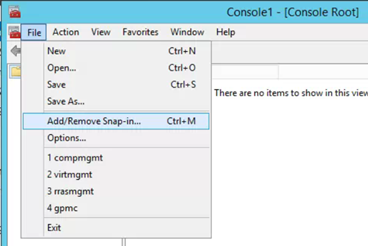
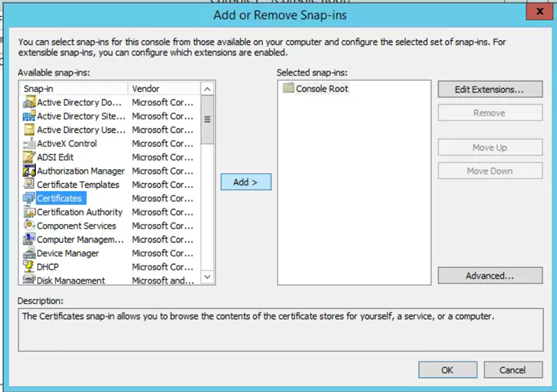
- Run – MMC

- Add or remove snap-in
-
Certificates
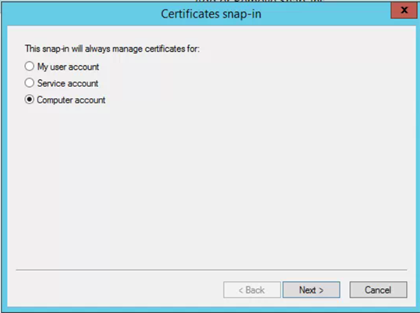
- Computer account
- Local computer
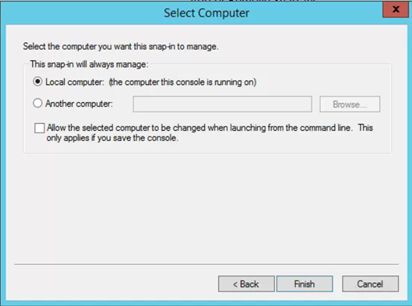
- OK
- Computer account
-
Expand Certificates -> Personal -> Certificates
- Right click Certificates and select All Tasks -> Request new certificate
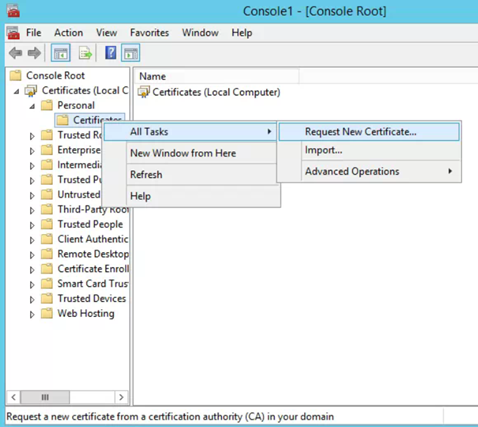
- On the information window click Next
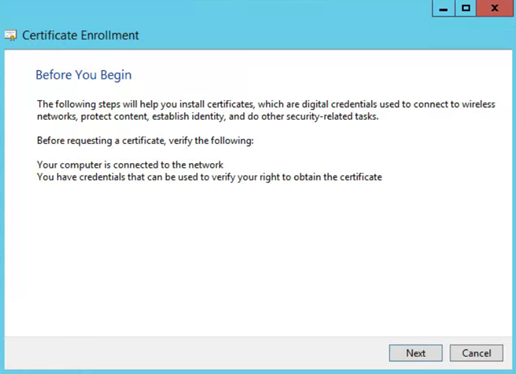
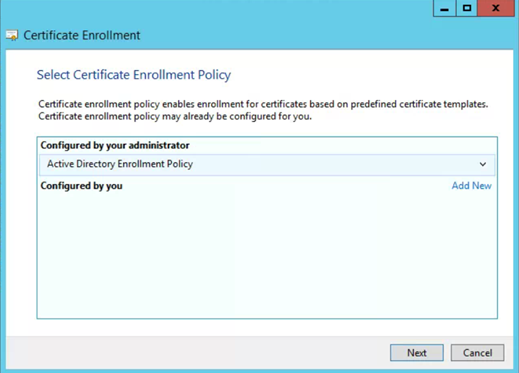
- On Certificate Enrollment click Next
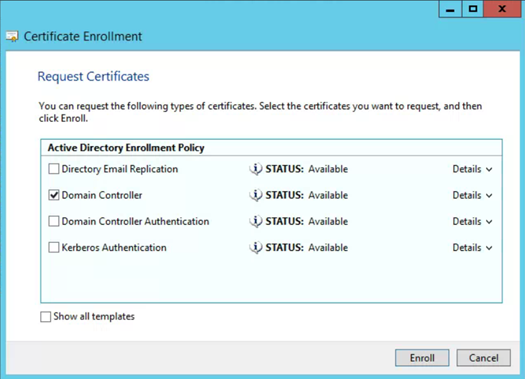
- Select: Domain Controller and choose Enroll
- Right click Certificates and select All Tasks -> Request new certificate
- TODO – is the exporting step needed if the domain will be trusting certificates?
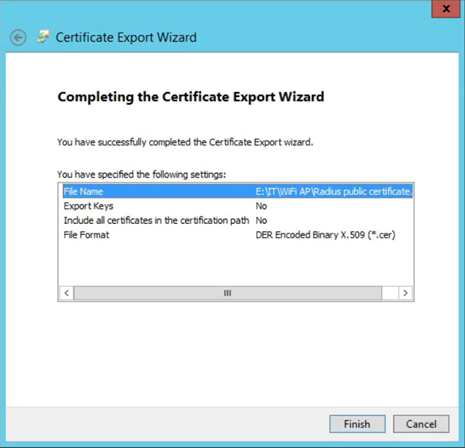
Right click new certificate and select all tasks – export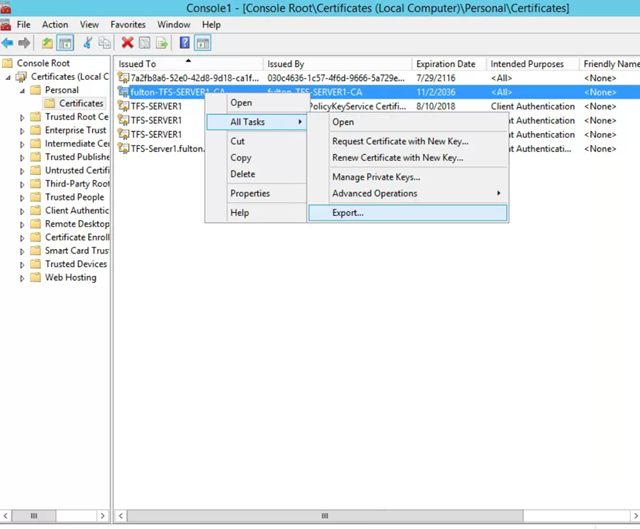
-
Next
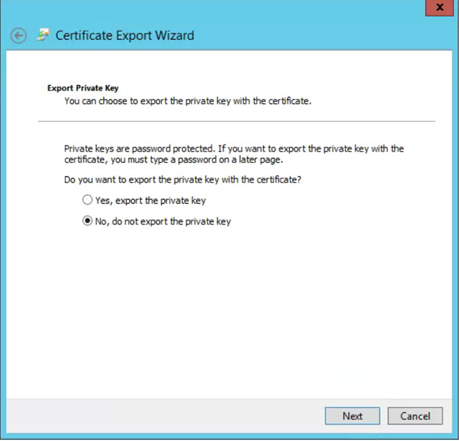
- Do not export private key
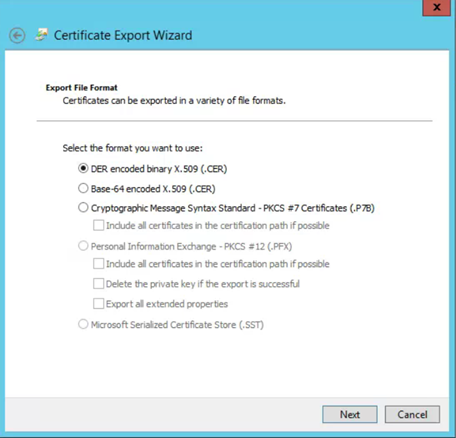
- Use DER binary x.509 (.cer)
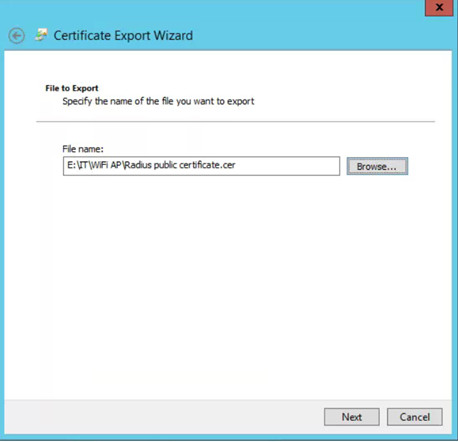
- Save to a secure location
- Finish
- Do not export private key
-
This certificate will be installed on all domain computers in another series of steps. TODO
- Use AD group policy to set this certificate to be a trusted root certificate
- Run – MMC
-
Install Certificate to domain computers
Use Group Policy to install the new certificate as a trusted root certificate for all domain computers- Open Group Policy Management
- Right click Group Policy Objects -> New
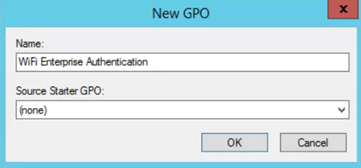
- Right Click new Group Policy -> Edit
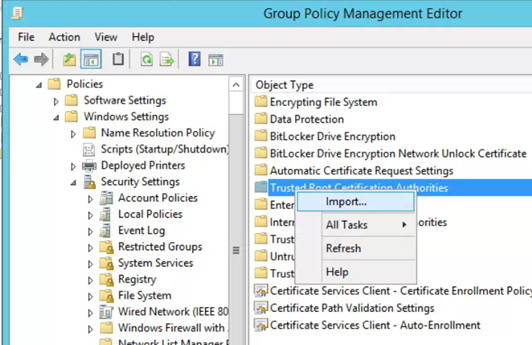
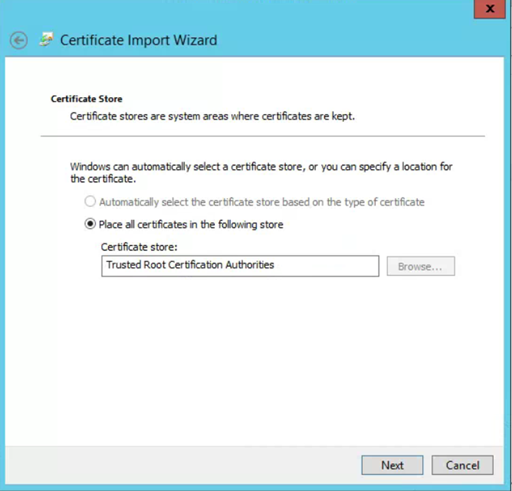
- In the Group Policy Management Console (GPMC), go to Computer Configuration-> Policies -> Windows Settings -> Security Settings -> and then click Public Key Policies.
- Right-click the Trusted Root Certification Authorities store and select Import
- Next
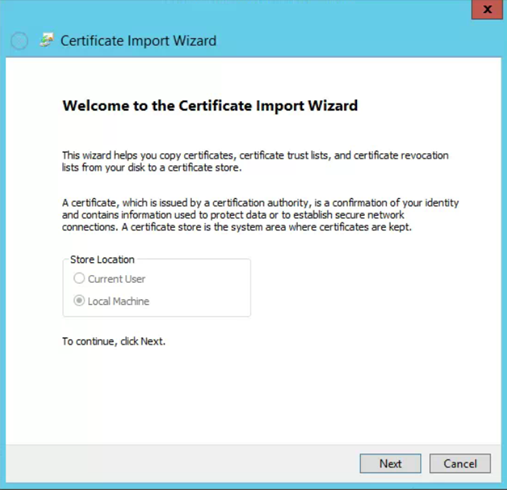
- Browse to the certificate you exported before
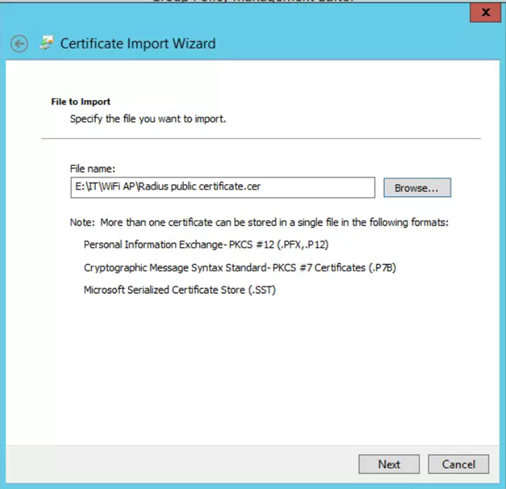
- Next
-
Edit the policy to include wireless settings
- While in Group Policy Management Editor:
- Expand Computer Configuration -> Policies -> Windows Settings -> Security Settings ->Wireless Network (IEEE 802.11) Policies
Right click Wireless Network (IEEE 802.11) Policies and select Create a new Wireless Network Policy for Windows Vista and Later Releases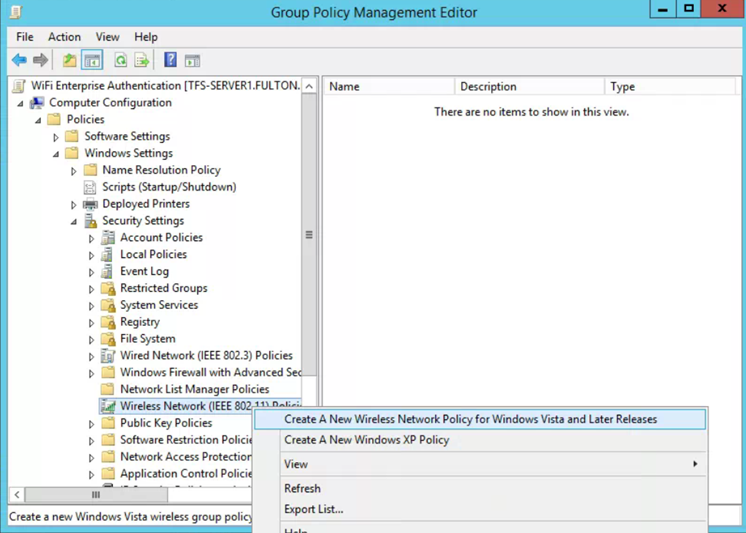
- Name the policy
- Click Add -> Infrastructure
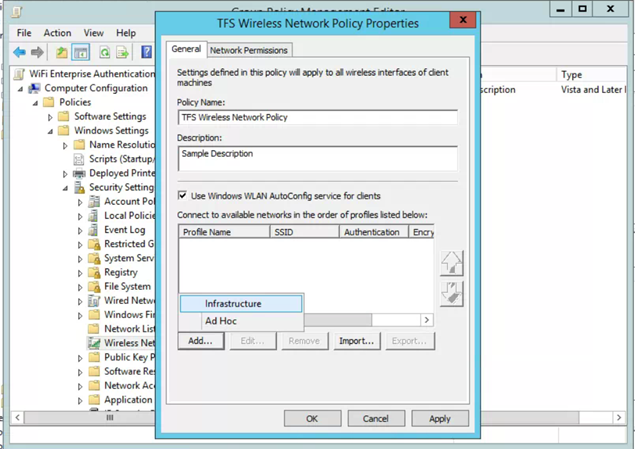
- Name the profile
- Add your SSID
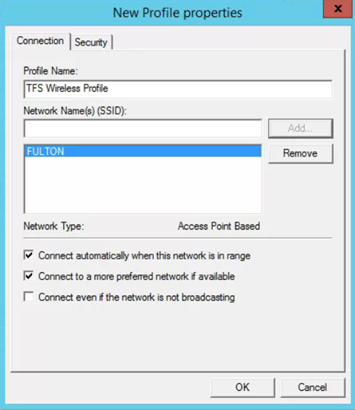
- Select the Security tab
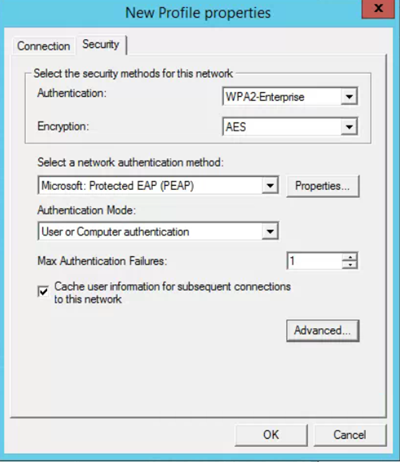
- Select the Advanced button
- Checkbox Enable Single Sign On for this network
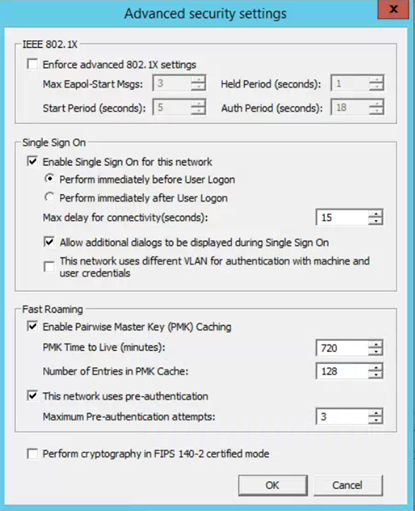
- Click OK to close Advanced security settings
- Click OK to close New Profile properties
- Click OK to close Network Policy window
-
Apply the wireless group policy to required computers
- In Group Policy Management:
- Select your Wireless group policy, and drag to the container you want to apply it to
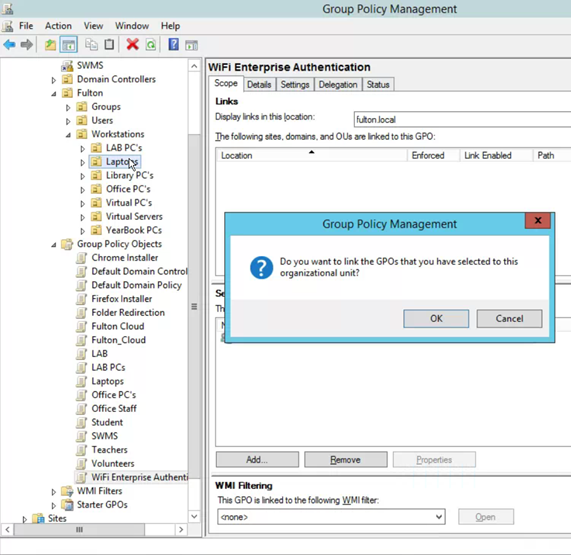
The PEAP certificate will now be installed and the wireless network will be configured via group policy
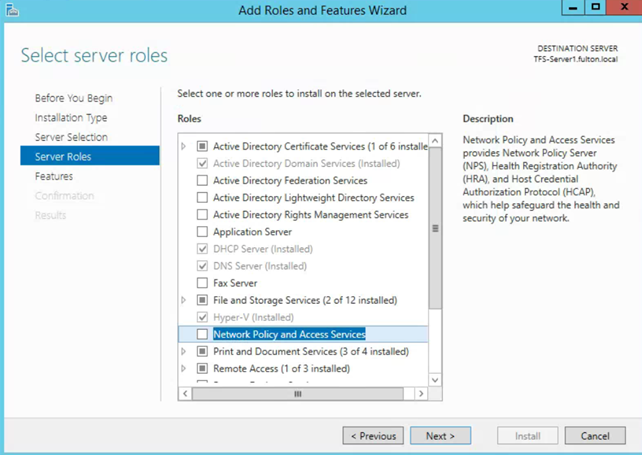
Install Network Policy and access service role
-
Server manager
- Add roles and features
- Role-Based
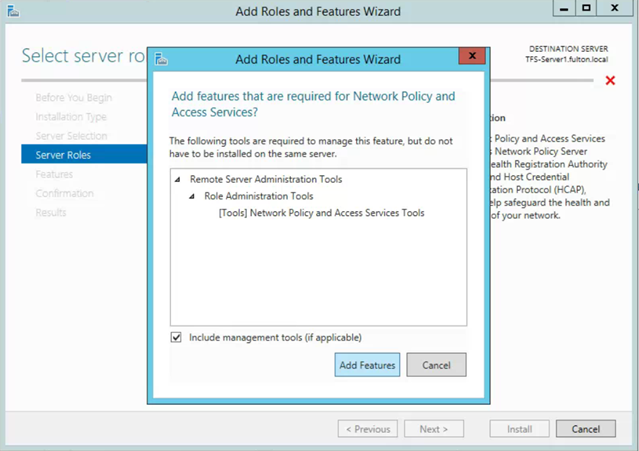
- Checkbox Network Policy and Access Services
- Add Features
- Checkbox DHCP server (if not already installed)
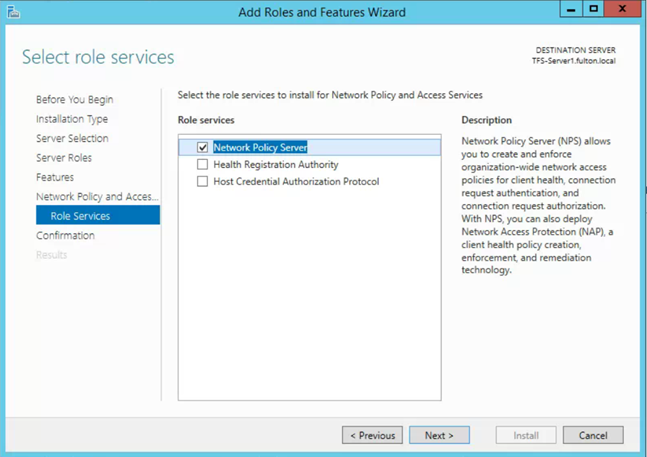
- Next
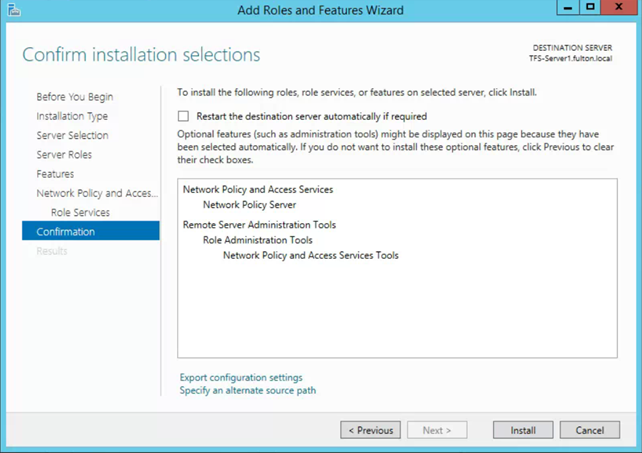
- Checkbox Network Policy Server
- Install
-
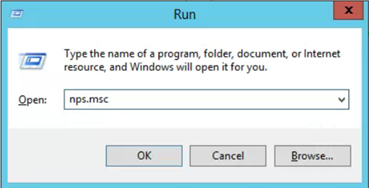
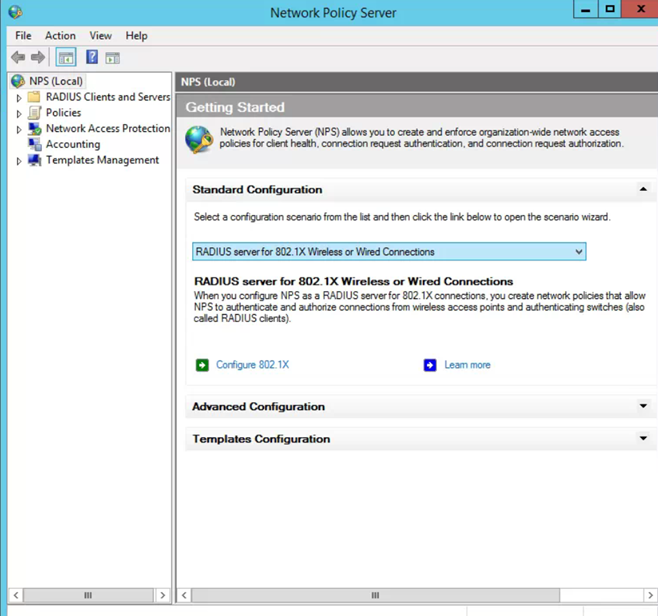
Run mps.msc
- Under Standard Configuration select configuration: RADIUS server for 802.1x wireless
-
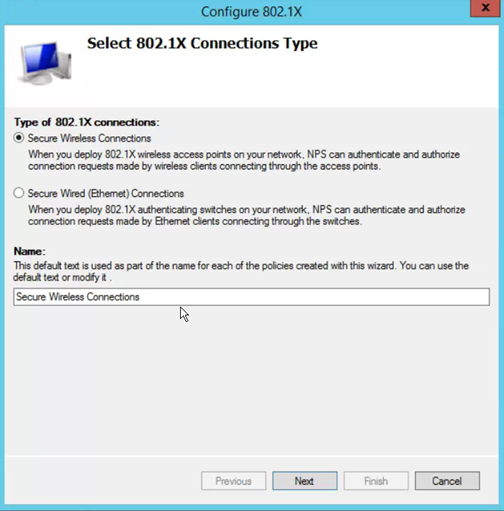
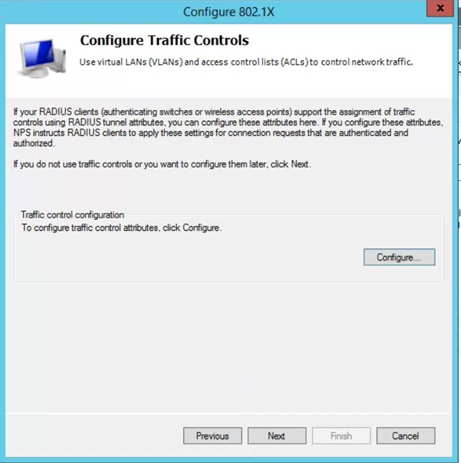
Click Configure 802.1x
- Secure Wireless Connections
-
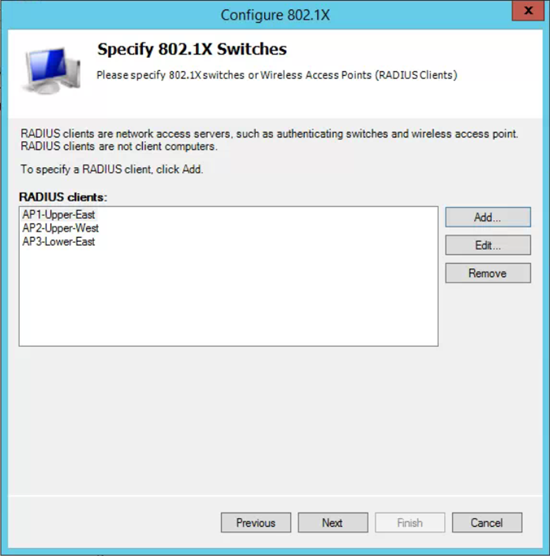
Add RADIUS clients (the access points)
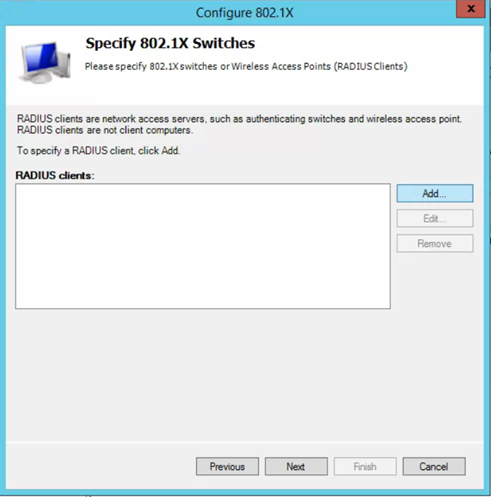
- Give it a descriptive name
- Enter the IP address of the Access Point
- Create a secure Shared Secret or generate a secure secret
- Copy and save Shared Secret to a secure location, you will need it when configuring the access point.
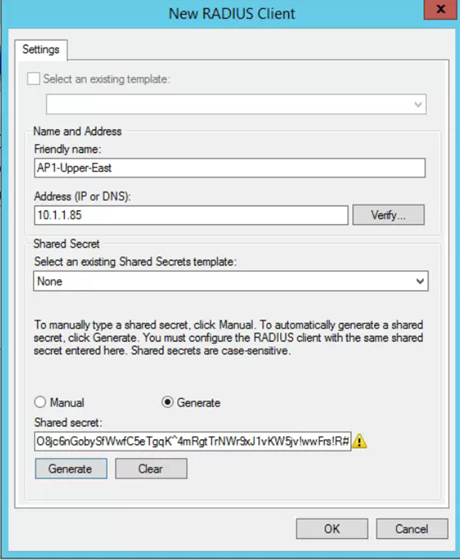
- Repeat steps above for each Access Point
- Next
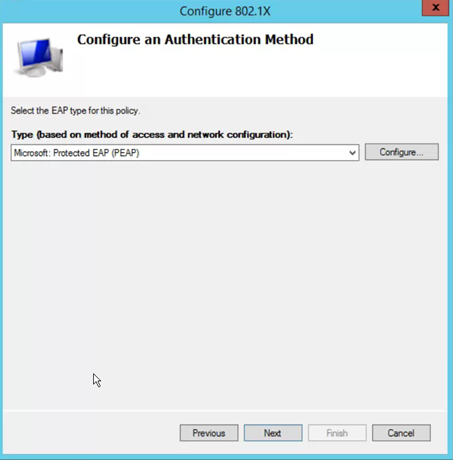
- Select EAP Type: EAP PEAP
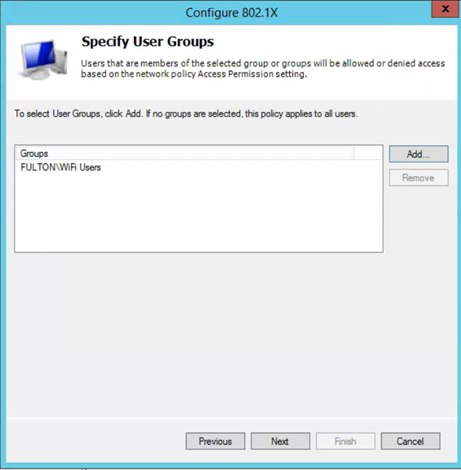
- Add AD security group you want to grant access to wireless
- Next
- Confirm settings, and select Finish
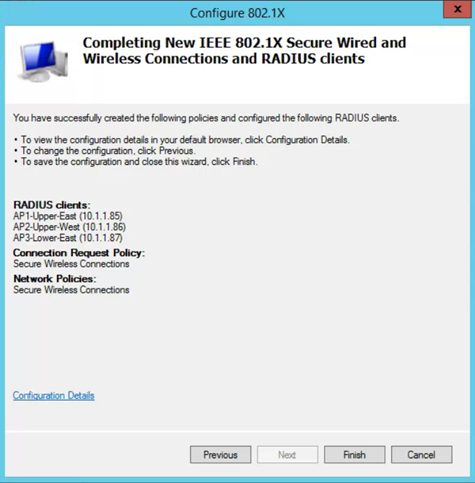
- Secure Wireless Connections
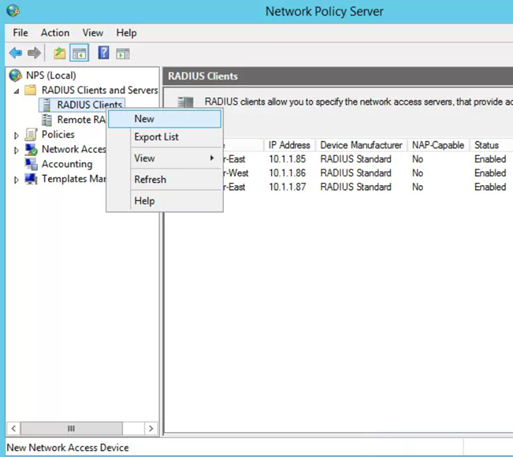
- Note: to add more access points later go to NPS(local) -> Radius Clients and servers -> Right click Radius Clients and select New
-
Open CMD prompt
- Netsh ras add registeredserver
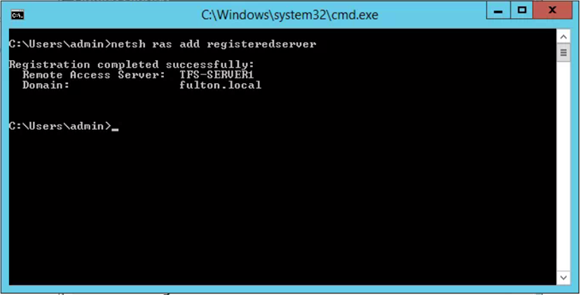
- Netsh ras add registeredserver
- Under Standard Configuration select configuration: RADIUS server for 802.1x wireless
-
Configure Wireless Access Points
- This depends on the specific model of AP you have, but the settings should be Enterprise WPA2 with AES encryption and the pre shared key from above (one unique for each AP)
-
Configure clients to connect to network
- In AD new group policy
- Set network name
- Set to authenticate using user or group
- Do not prompt user to authorize new servers or trusted certification authorities
- Automatically use my windows logon name and password